Gameplay
Dorm and Classroom Codes: Open the Right Lock
Open the dorm and classroom locks in Escape Academy 2: Back 2 School. Match portrait symbols, follow desk coordinates and solve the timetable clues.
Updated
- Guides
- 27
- Topics
- 3
- On this page
- 8
Match the Clues to Your Location
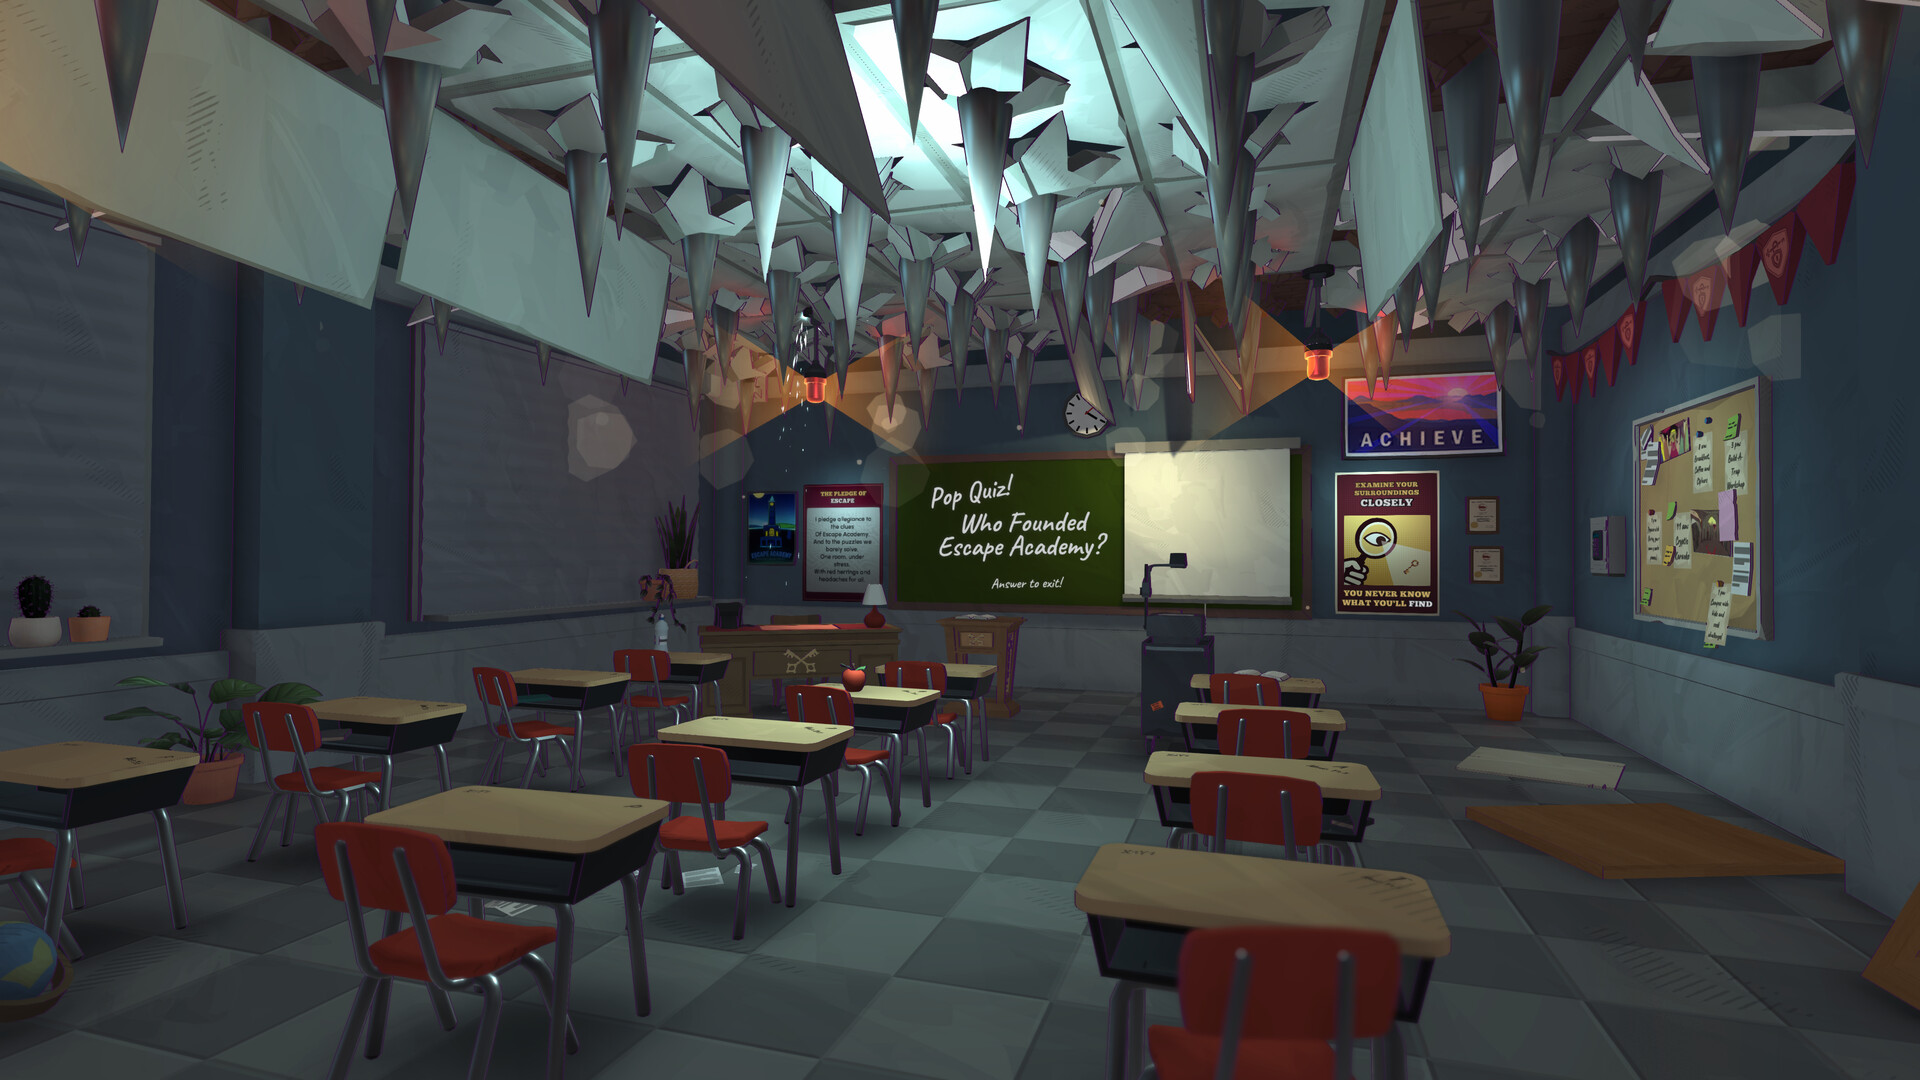
Open the upstairs dormitory entrance by counting the card-suit symbols in the founders’ portraits. If you are still in the A Clued Awakening classroom, follow the desk coordinates and timetable clues, collect the Projector Stills and identify the founders at the exit.
Recognize the Classroom and Dorm Locks
A Clued Awakening takes place in the classroom after the opening tram sequence. Look for the engraved desks, locked backpack, projector and spiked ceiling. Your objective there is to collect three Projector Stills and use them to solve the founders’ identification panel.
Dorm Sweet Dorm comes after the classroom escape, during orientation. Its entrance is upstairs in the main tower and carries a lock marked with a spade, heart and club. Beyond that shared entrance, your own student number identifies the bedroom you need.
Dorm Sweet Dorm: Find Your Number and Open the Entrance
For a spoiler-light start, inspect the founder portraits displayed on different floors and count their card-suit symbols. Read those counts in the order shown on the dorm lock. Find your personal student number separately by locating your portrait in the corridor.
- Talk to Headmaster Solange after A Clued Awakening to receive the locker key and orientation checklist.
- Find your portrait on the corridor’s portrait wall to learn your student number.
- Open the locker bearing that number with Solange’s key to access your locker supplies.
- Collect the three Escape Bucks inside the locker for your upcoming book purchases.
- Go upstairs from the lobby to reach the dormitory entrance and its card-suit lock.
- Count the founders’ portrait symbols in spade, heart, club order to obtain 3, 4, 6.
- Enter 346 on the dormitory entrance lock to gain access to the residential area.
- Enter the bedroom matching your own student number to complete the room-finding objective.
The entrance combination and your bedroom number serve different purposes. Use the portrait-symbol count for the shared entrance, then use the number beside your own portrait to choose your bedroom.
A Clued Awakening: Follow the Desk Coordinates
The classroom backpack’s clue gives you a starting desk. Each desk provides a letter and an instruction that changes your coordinates, leading you to the next letter. Record the letters in the order you visit the desks.
- Inspect desk X2 Y2 to find P and the instruction X+1.
- Move to desk X3 Y2 to find A and the instruction Y+2.
- Move to desk X3 Y4 to find T and the instruction X-2.
- Inspect desk X1 Y4 to find H and complete the word PATH.
- Enter PATH on the backpack’s lock to open it.
- Collect Projector Still (3 of 3) from the backpack for the founders’ puzzle.
Use the Timetable to Reveal the Telephone Hint
The noticeboard beside the wall keypad lists activities with their times. Sort the notices from morning to evening, then press the symbols representing those activities in that order. The exact sequence leads to a telephone clue.
- Press the coffee cup for the 8 a.m. activity to start the timetable sequence.
- Press the musical notes for the 11 a.m. karaoke activity to continue the sequence.
- Press the jigsaw piece for the 1 p.m. Jigsaw club activity.
- Press the hammer, board and nails symbol for the 3 p.m. workshop.
- Press the eye for the 9 p.m. hide-and-seek challenge to finish the keypad sequence.
- Look through the revealed peephole to read the telephone hint, 772.
- Enter 772 on the desk telephone to prepare the call.
- Press the telephone’s tick button to reveal the desk’s hidden compartment.
- Collect Projector Still (2 of 3) from the desk for the final identification puzzle.
Take the Poster Key and Open the Chest
Inspect the Examine Your Surroundings Closely poster to the right of the projector screen. Its key can be picked up and used on the chest at the back of the classroom.
- Pick up the key from the Examine Your Surroundings Closely poster.
- Use the key on the locked chest at the back of the classroom to open it.
- Collect Projector Still (1 of 3) from the chest to complete your set.
Identify the Founders and Leave the Classroom
Use the projector to connect each founder’s name with a face, then compare those faces with the founders’ picture to identify their card suits. Enter each name beneath its matching suit on the exit screen.
- View the collected Projector Stills in the projector to inspect the founders’ names and faces.
- Set the club entry on the exit screen to Fernando Augustin.
- Set the heart entry on the exit screen to Reina Wym.
- Set the spade entry on the exit screen to Sameer Gaspard.
- Select Unlock after entering the matching names to release the classroom door.
- Leave through the classroom door to complete A Clued Awakening.
Continue Orientation After Finding Your Dorm
After entering the bedroom matching your student number, continue the book assignment. For Better Book It!, reach the bookshop through the courtyard on the first floor, where each required book has its own display puzzle. Keep the Escape Bucks collected from your locker for those purchases.